Epoxy color bleeding in porous stone
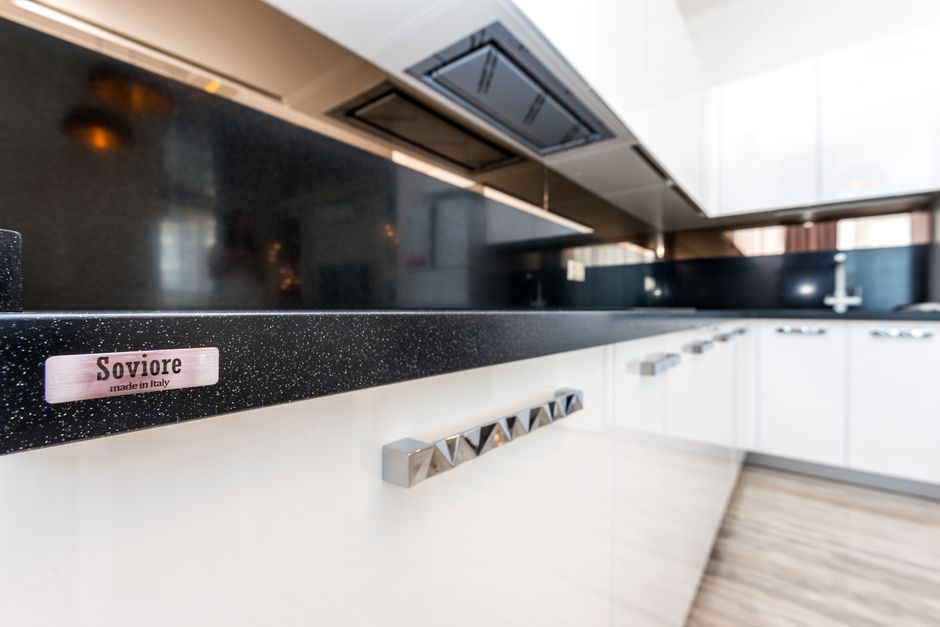
Pigment migration occurs when liquid resins penetrate the capillary structure of a natural slab. This phenomenon, documented in the technical notes at kitchen countertops redding todaysphoto, often complicates repairs on a marble surface or a travertine piece. Working on a countertop in Redding, CA requires an understanding of how stone porosity dictates resin behavior.
The Mechanics of Pigment Bleeding
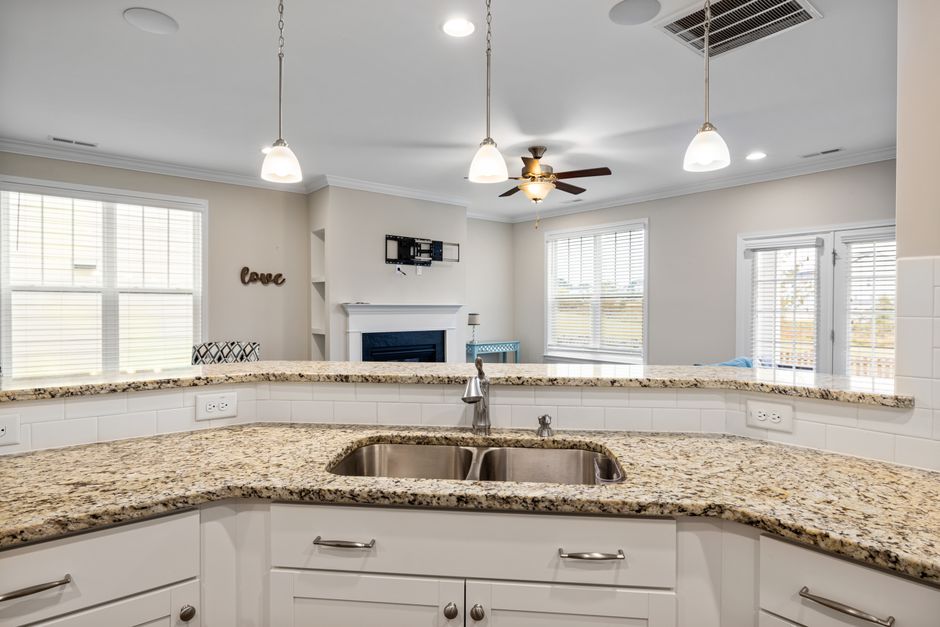
Natural stone is not a solid mass but a network of microscopic pores. When you introduce a colored epoxy into a chip, the liquid carrier often travels ahead of the pigment. In highly porous materials like travertine, the resin wicks into the surrounding stone. This creates a dark halo or a blurred edge around the repair site. This movement is not a failure of the resin itself, but a result of the stone's internal geometry. If the stone is not properly sealed before the repair, the pigment will travel several millimeters beyond the original void.
Managing Porosity During Repairs

The first step in preventing bleeding is to create a barrier. Applying a low viscosity penetrating sealer to the area around the chip can help slow the migration. For a marble surface, you must ensure the sealer is fully cured before applying any pigmented epoxy. If you work too quickly, the epoxy will still find a path through the unreacted sealer. Using a high viscosity resin can also limit the depth of penetration. Thicker resins stay where they are placed, whereas thin, watery epoxies act like ink on a paper towel.
Color Matching and Depth
Achieving a seamless look requires more than just matching the surface color. You must account for how the light interacts with the stone. A repair on a slab of quartzite or granite often needs a multi-layered approach. Start with a base layer of clear resin to fill the deepest part of the chip. Once that is set, apply a second layer with a small amount of pigment. This prevents the "sunken" look where the repair appears lower than the surrounding stone. If you are working near a seam, ensure the resin does not leak into the joint, as this creates a visible line that is difficult to sand out.
Sanding and Finishing Protocols
Mechanical removal of excess resin is the final stage of the process. Use diamond abrasive pads starting at a lower grit to level the repair. If the pigment has bled, you may need to sand slightly wider than the initial chip to remove the halo. Be careful not to over-sand the surrounding stone, as this can change the sheen of the material. Whether you are working on an eased edge or a bullnose, the goal is a flat, uniform surface that matches the factory finish of the stone.